

First Steps Checklist
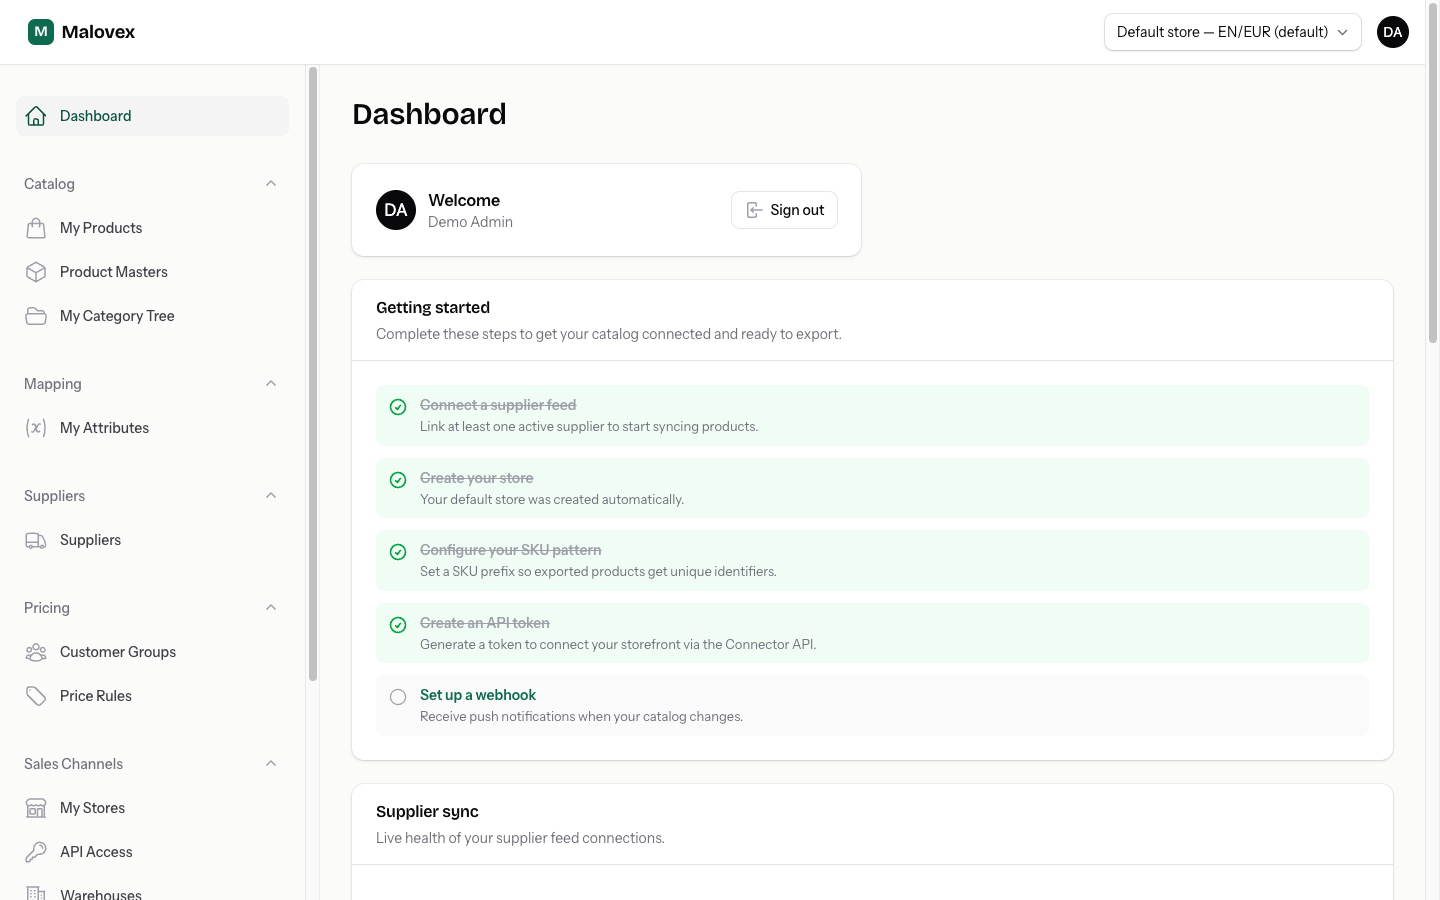
Once you’re signed in, your dashboard shows a setup checklist that walks you through getting your catalog live. This page mirrors that checklist so you know what each step does and where to find it. The checklist hides itself automatically once every step is done.
The checklist
Section titled “The checklist”-
Connect a supplier feed. Link at least one active supplier so Malovex can start syncing products, prices, and stock. This is the step that gets data flowing. Open Suppliers in the sidebar and add your credentials. → Connecting a supplier
-
Create your store. Already done for you — a default store is created automatically when you sign up. You can rename it, add locales, or create more stores later (subject to your plan’s store limit). → Stores & locales
-
Configure your SKU pattern. Set a SKU prefix so exported products get unique, predictable identifiers in your storefront. Configure it in Settings, or per store. → SKU patterns
-
Create an API token. Generate a token so your storefront can read the finished catalog through the Connector API. Open API Tokens in the sidebar. → API access & tokens
-
Set up a webhook. Add a webhook endpoint to get pushed a notification whenever your catalog changes, so your store stays fresh without polling. → Webhooks
After the checklist
Section titled “After the checklist”With data flowing and a token in hand, you’ll want to shape and price your catalog:
- Organise products — match them to masters, build your category tree, and map manufacturers. See My products.
- Set your pricing — turn supplier cost into your selling price with price rules and customer groups. See How pricing works.
- Invite your team — grant colleagues access with the permissions they need. See Users, roles & permissions.
Keep an eye on usage
Section titled “Keep an eye on usage”Your dashboard also shows a usage widget with a bar for each plan limit, so you can see how much of your products, feeds, stores, and other allowances you’re using. When you get close to a limit, plan an upgrade or buy add-on capacity. See Billing & Usage.